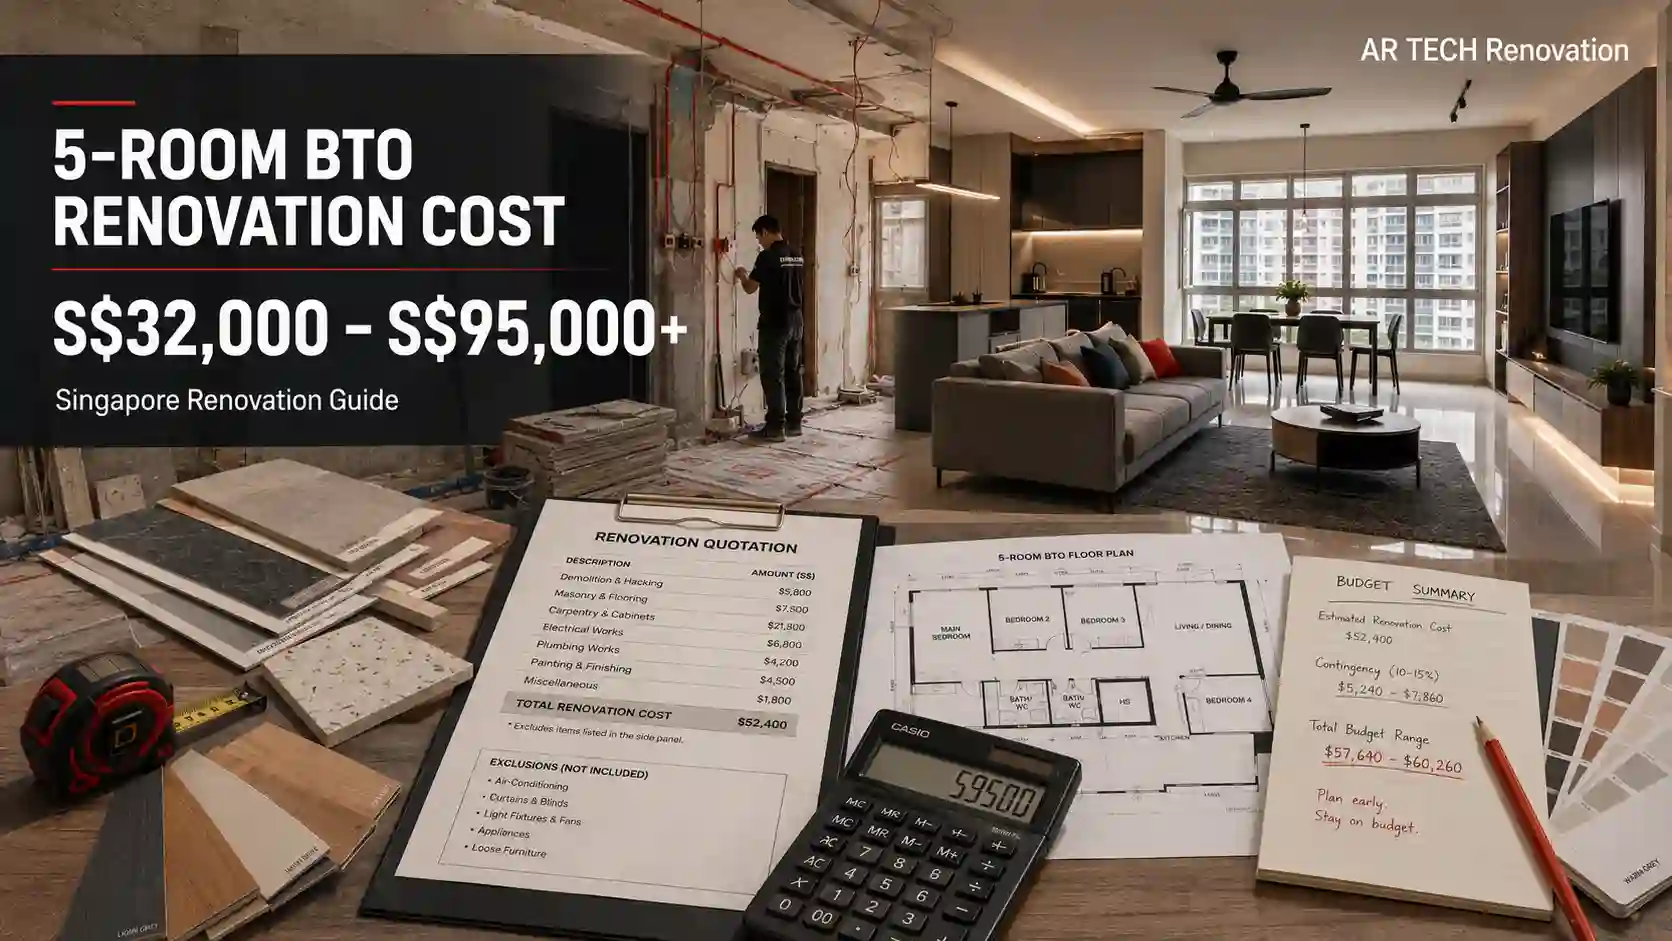
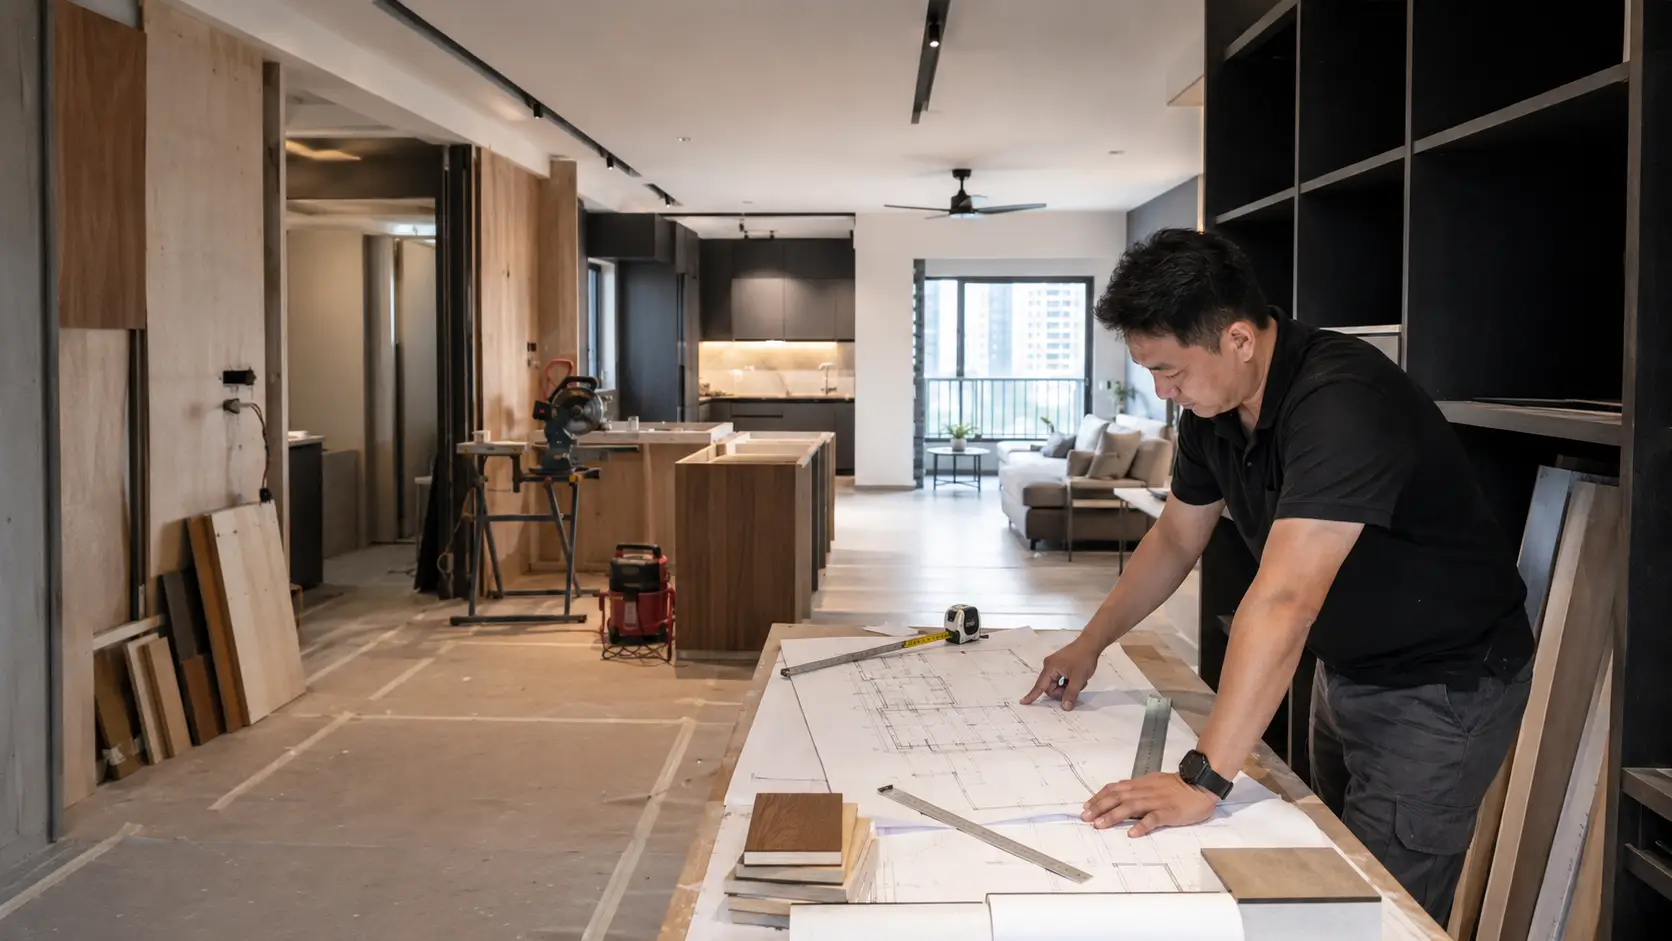
Most homeowners in Singapore feel lost the moment their renovation starts. There are too many decisions, too many contractors, and no clear timeline. One wrong step can cause weeks of delays and thousands in extra costs.
This is where experience makes a real difference. After working on hundreds of renovation projects across HDB flats, condos, and landed homes, the pattern is always the same. Projects that go smoothly follow a clear, structured process. Projects that fall apart skip steps.
In this guide, you’ll learn the exact home renovation process in Singapore, week by week. You’ll see what happens at each stage, what to prepare, and what to watch out for. By the end, you’ll know exactly how a proper renovation timeline should run.
Understanding the Home Renovation Process in Singapore
The home renovation process in Singapore follows a fixed order of work. You can’t tile before you lay the screed. You can’t install carpentry before the walls are painted. Every stage depends on the one before it.
The full timeline runs 3 to 5 months from planning to handover. The physical work on-site takes 8 to 12 weeks. Planning, design, and permits take 4 to 8 weeks before workers even step inside your home.
Understanding this order helps you set realistic expectations. It also helps you spot delays early. When you know what should happen in Week 5, you’ll notice immediately if your contractor hasn’t started.
Planning and Preparation (Weeks 1-4)
Good planning saves money and prevents delays. Most renovation problems start here – not on-site.
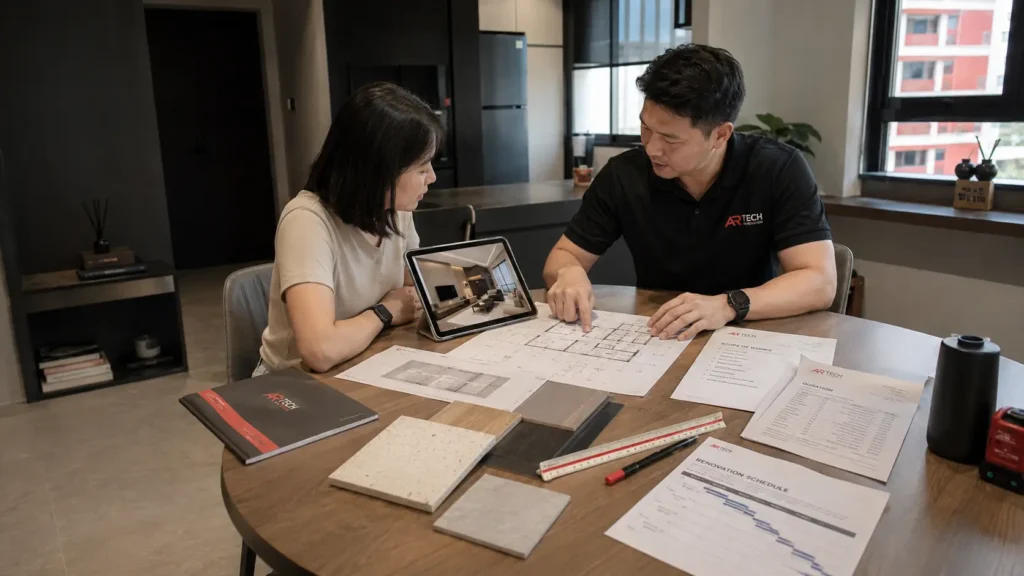
Budget and Scope
Set your budget before you do anything else. Knowing your total spend helps you decide what’s possible and what to cut. Without a fixed budget, scope creep happens fast.
Write down every area you want to renovate. List what you want to change in each room. This becomes your renovation scope of work. Share it with every contractor you approach so their quotes cover the same things.
Hire Professionals
Choose your contractor or interior designer early. The hiring process takes longer than most homeowners expect. Get at least three quotations. Compare them line by line, not just by total price.
Ask each contractor about their renovation schedule, who manages the site, and how they handle delays. A contractor who avoids these questions is a risk. A good one gives clear answers.
Design and Space Planning
Space planning turns your ideas into a workable layout. This is where room flow, storage, and furniture positions get decided. Poor interior layout planning leads to wasted space and costly changes later.
Work with your designer to finalize every detail before work starts. Every change made on-site costs more than a change made on paper.
Finalize 3D Visuals
3D visuals show you exactly how your home will look. Review them carefully. Check cabinet heights, countertop positions, and lighting placements. This is your last chance to change anything for free.
Don’t approve the 3D until you’re fully satisfied. Once work starts, changes cost money and cause delays.
Apply for Permits
Apply for your renovation permit as early as possible. HDB renovation permits are required for applicable works in HDB flats. Condo projects need MCST approval from your building management.
Permit processing can take up to 3 weeks. Submit early so approval doesn’t delay your start date.
Abide Restrictions
Every property type has renovation rules you must follow. HDB flats have specific restrictions on hacking, electrical works, and working hours. New BTO flats restrict hacking of bathroom floor and wall tiles for the first 3 years.
Condos follow MCST rules, which vary by building. Landed homes have their own set of structural guidelines. Your contractor must know these rules before work begins.
Approvals and Permits (Weeks 3-4)
Permits protect you legally and keep your renovation within approved boundaries. Skipping this step can lead to fines, forced reinstatement, or issues when you sell your home.
HDB / Condo Management Approval
HDB renovation permits are needed for most structural and wet works. This includes hacking walls, laying new floors, and relocating plumbing. Your contractor should handle the application on your behalf.
For condos, the MCST approval process differs by building. Some management offices are quick. Others take longer. Submit early and follow up regularly.
Strict Rules
Breaking renovation rules has real consequences. HDB can require you to reinstate changes at your own cost. Condo management can issue fines or stop work entirely.
Make sure your contractor knows the HDB renovation guidelines before they plan any works. Don’t rely on what a previous contractor told you. Rules update over time. Always verify with the latest guidelines.
Demolition and Wet Works (Weeks 5-7)
This is where the physical renovation begins. The site gets prepared and existing structures are removed. It’s loud, dusty, and disruptive – but it sets the foundation for everything else.
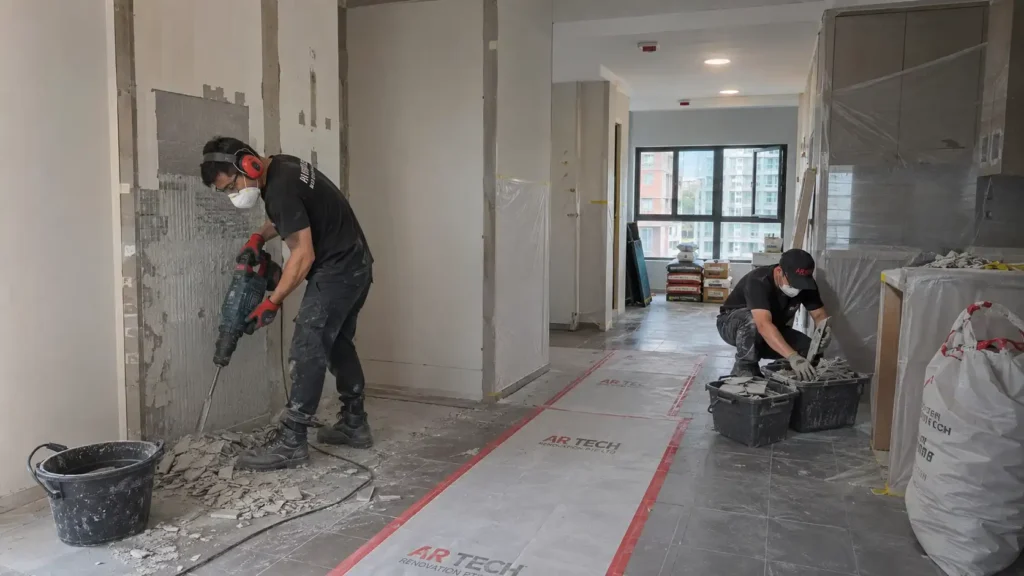
Protection and Hacking
Protecting your building’s common areas comes first. Contractors must cover lift lobbies, corridors, and common area floors before moving any materials. This is an HDB and condo management requirement in most buildings.
Failing to protect common areas can result in your contractor being asked to stop work. Check that your contractor follows this before hacking starts.
Execute Hacking
Hacking removes approved walls, tiles, and structures. Only non-structural walls can be removed. Your contractor must have the approved permit before any hacking begins.
Old floor tiles, wall tiles, and unwanted built-in structures get removed at this stage. The site gets cleared for the new works to begin.
Run Piping
Plumbing rerouting happens before any walls are closed up. This includes repositioning water inlets, drainage pipes, and waste outlets. Changes here are impossible after tiles go down.
If you’re shifting your bathroom layout or kitchen sink position, confirm the new pipe routes with your contractor now. Mistakes at this stage are expensive to fix.
Rewire Electricals
Electrical rewiring runs alongside the plumbing works. Concealed wiring gets laid in the walls and ceilings before plastering begins. Power point positions, light points, and switch locations all get routed at this stage.
Check your electrical plan carefully before this starts. Adding a power point after the walls are closed up means hacking again.
Infrastructure – Electrical and Plumbing (Weeks 7-8)
All hidden infrastructure gets completed before any surface finishes go on. This phase locks in your electrical and plumbing layout permanently.
Concealed Wiring
Concealed electrical wiring runs inside your walls and ceilings. Electricians lay conduit and cable to every point on your electrical plan. This includes all power points, light switches, and aircon isolators.
Once plastering covers the walls, the wiring is permanent. Review your electrical plan one final time before this work is completed.
Plumbing and Air-Con
Primary air-conditioning copper piping gets installed at this stage. Pipe routes, trunking positions, and indoor unit locations are confirmed. Getting these positions wrong affects where your furniture can go later.
Final plumbing rough-ins are also completed here. This includes all water supply pipes and drainage connections before tiling begins.
Carpentry and Installation (Weeks 9-13)
Carpentry is where your home starts looking like home. This is the longest phase of most renovations. It includes fabrication, installation, painting, and fittings.
Built-In Fabrication
Custom carpentry gets fabricated off-site in a factory. Kitchen cabinets, wardrobes, feature walls, and storage units are built to your approved 3D design. Off-site fabrication keeps your home cleaner and speeds up on-site time.
Lead time for carpentry fabrication is typically 2 to 4 weeks. Your contractor should order this early so delivery doesn’t delay installation.
On-Site Assembly
Carpentry pieces arrive and get assembled on-site. Kitchen cabinets, wardrobes, and built-in units are installed and aligned. Countertops are cut and fitted. Doors, handles, and soft-close hinges are added.
Quality inspection at this stage matters. Check that all doors open properly, gaps are even, and finishes match your approved samples.
Paint Surfaces
Painting happens before fixtures and fittings are installed. Walls and ceilings get their base coat, followed by finish coats. Carpentry units may receive touch-up painting after installation.
Choose your paint colors early. Late color changes cause delays because painters need to order materials.
Install Units
Light fixtures, toilets, sinks, and taps get installed after painting. This is also when air-conditioning indoor units are mounted and connected. Final plumbing fittings like basin mixers and shower sets are added.
This stage moves quickly when the earlier phases are done correctly. Delays here usually trace back to late carpentry delivery or unresolved electrical issues.
Finishing Touches and Handover (Weeks 14-16)
The final phase turns a construction site back into a liveable home. Every detail gets checked, cleaned, and confirmed before you receive your keys.
Mount Electronics
TV brackets, mirrors, and other wall-mounted items go up last. These installations happen after painting is fully dry and carpentry is complete. Mounting too early risks damage from other works.
Confirm all mounting heights with your contractor. A TV mounted too high or too low is uncomfortable to fix once the wall is patched.
Painting and Fixtures
Touch-up painting covers any marks made during installation. Contractors fix scuffs on walls, paint over raw carpentry edges, and repaint areas disturbed by drilling. This is a normal part of every renovation.
Walk through each room and flag any paint issues before the cleaning crew arrives. It’s much harder to spot marks once the space is fully cleaned.
Chemical Cleaning and Inspection
Chemical cleaning removes construction dust, grout haze, and residue. This is a specialized clean – not a regular mop. Tiles get acid-washed, surfaces get wiped down, and all areas are prepared for your final inspection.
Don’t move in before this is done. Construction dust is fine and gets into everything. A proper chemical clean is worth doing right.
Audit Defects
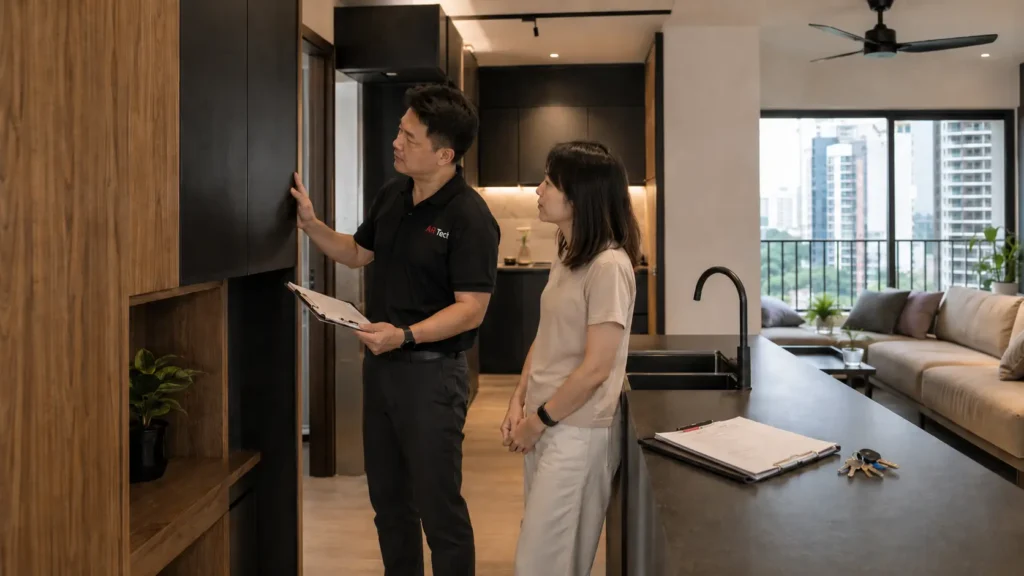
Check everything carefully during your defect inspection. Go room by room. Test every power point, light switch, tap, and cabinet door. Look at tile grouting, paint edges, and carpentry alignment.
Write down every defect you find. Give the list to your contractor in writing. Reputable contractors fix all genuine defects before handover at no extra cost.
Collect Keys
You receive your keys after defects are resolved and the final inspection is passed. This marks the official completion of your renovation. Keep your renovation documents, permits, and contractor warranty information safe.
Your contractor should provide a warranty for workmanship. Ask for this in writing before the project starts.
Standard Payment Schedule Structure
| Payment Stage | Typical Amount | When It’s Due |
| First Payment (Deposit) | 10–20% | Upon contract signing |
| Second Payment | 20–30% | Upon permit approval / site start |
| Third Payment | 20–30% | Upon completion of wet works and carpentry |
| Fourth Payment | 15–20% | Upon substantial completion |
| Final Payment (Retention) | 5–10% | Upon defect rectification and handover |
Payment stages vary by contractor. Always tie payments to completed work milestones, not calendar dates. A retention sum held until after defects are fixed protects you.
Frequently Asked Questions
How does the home renovation process work in Singapore?
The home renovation process in Singapore starts with planning, then permits, then physical works, and finally handover. The full process runs 3 to 5 months. Planning and permits take 4 to 8 weeks. On-site renovation takes 8 to 12 weeks. A post-renovation inspection and cleaning close the project before you move in.
What are the steps involved in a home renovation project?
A home renovation project follows this order: budget and scope planning, contractor selection, design and 3D approval, permit application, site protection and hacking, electrical and plumbing rough-in, wet works and tiling, false ceiling and partitioning, carpentry fabrication and installation, painting, fixture installation, chemical cleaning, defect inspection, and final handover.
How long does each stage of a home renovation take in Singapore?
Planning and design take 2 to 4 weeks. Permit approval takes up to 3 weeks. Demolition and wet works take 2 to 3 weeks. Electrical and plumbing rough-in takes 1 to 2 weeks. Carpentry fabrication and installation take 3 to 5 weeks. Finishing and handover take 1 to 2 weeks. The full renovation timeline in Singapore runs 3 to 5 months from start to finish.
What should I prepare before starting a home renovation?
Before your home renovation starts, prepare a fixed budget, a clear scope of works, and a list of your must-haves and trade-offs. Have your floor plan ready. Arrange temporary accommodation if needed. Confirm your permit requirements with your contractor. A clear renovation preparation checklist shared with your contractor prevents misunderstandings later.
How can I avoid delays during a home renovation project?
You can avoid delays by finalizing your design before work starts, submitting permits early, and choosing contractors with clear schedules. Late material selections, design changes on-site, and slow permit approvals are the most common delay causes. A written renovation schedule with milestone dates keeps everyone accountable.
Who is responsible for managing the renovation timeline?
Your main contractor or interior designer is responsible for managing the renovation timeline. They coordinate subcontractors, order materials, and sequence the works. You should receive regular site updates. Visit the site regularly and ask for a weekly progress update. Clear communication between you and your contractor prevents most timeline problems.
How do I know if my renovation is progressing on schedule?
Compare site progress against your signed renovation schedule. At the end of each week, check which stage should be completed. If wet works were due by Week 5 but haven’t started by Week 6, that’s a warning sign. Ask your contractor for a written update. Delays caught early are easier to recover from.
What should I check before accepting a completed renovation project?
Before accepting a completed renovation, check every power point and light switch, all tap fittings, every cabinet door and drawer, tile grouting and alignment, paint edges and finish quality, and all aircon units. Test everything yourself. Write down any defects you find and give the list to your contractor before making your final payment.
Conclusion
The home renovation process in Singapore follows a clear, stage-by-stage order. Planning and permits come first. Demolition and wet works follow. Electrical, plumbing, carpentry, painting, and installation happen in sequence. Cleaning, defects, and handover close the project. Skipping or rushing any stage causes problems that cost more to fix later.
Each phase builds on the one before it. That’s why the renovation order of work matters as much as the design itself. A beautiful kitchen means nothing if the plumbing behind it was rushed. Good workmanship takes time and proper sequencing.
Singapore Home Renovation Services has guided hundreds of homeowners through this exact process. We manage every stage – from permit application to final defect inspection – so nothing falls through the cracks. If you’re planning a renovation and want a clear timeline, honest advice, and proper project coordination, reach out to us today and let’s walk through your project together.